Skills Covered:
This tutorial will walk you through the steps to make a basic hand mesh from a reference image.
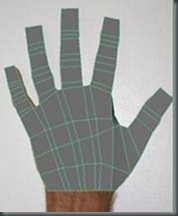
1. First you will need to import the hand image plane. Import Image plane into the Top View window. Use Default Image Plan Attributes: Center X: 0, Center Y: 0, Center Z: 0, Width: 30, Height: 30
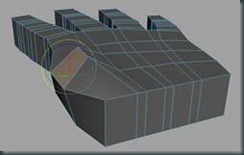
2. There are multiple ways of starting the hand but ultimately you need a shape that looks like figure 5. The first thing is to create a cube with: Subdivision Width: 7, Subdivision Height: 1, Subdivision Depth: 4 You can change this in the history settings or create one right off the bat through the option box. My work flow is to change the settings after primitive in made because when you change the settings in the option box, they stay the same until you reset it.
3. Move the divisions around to create divisions between the fingers. I switched to Vertex mode and selected all the vertices in a particular row, then moved them to roughly where I thought it should be.
4. Select the faces where the fingers would appear. Extrude the fingers including divisions for the knuckles. At this point, they should all be the same length.
5. Rotate the poly hand so that it is close to the one in the image.
6. In Vertex Mode, individually select the fingers and roughly line them up with the one in the image. It should look something like this.
8. Move the vertices around to line up the fingers and the palm with the image plane.
9. In the Front View, scale down the hand vertically a bit to an estimated thickness of the hand.
This next part, extruding the thumb can be a bit tricky.
10. In the Perspective View, we need to hide the hand image plane. In the perspective window pane choose Show > Cameras
11. Rotate the view until you see the bottom of the hand and select the face where the thumb will be extruded.
12. Rotate and move the face so it angles out a bit. It is kind hard to see, so look at your hand and guesstimate.
13. With the face still selected, extruded it out a few times to make the basic shape of the thumb.
14. 
15. 
16. 
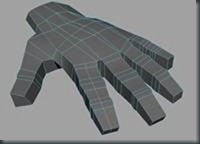
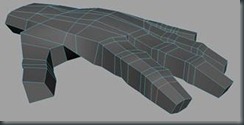
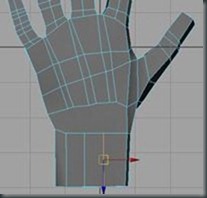
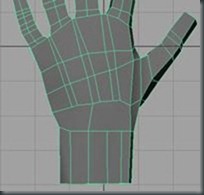
17. It should look something like this.
18. Repeat for the other 2 pairs on the top and the 3 pairs on the bottom.
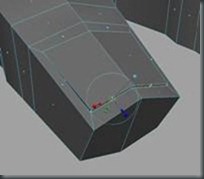
19. Now select the bottom faces and extrude them out to make the wrist. With the faces still selected, delete them.
Shaping the Hand
1. Create a lattice – In the Animation tool set, Deform > Create Lattice. Go to its history, and change the lattice settings appropriately for what you need to deform.
2. To delete the lattice, delete the hands history. Edit > Delete by Type > History
3. This process might take a few attempts, but take your time to get as close as you can to the hands actually shape.
*Your hand should not look flat. Use your hand as a reference.
Thumbnails
1. 
1. Select the top edges and move them up a bit. Repeat for the bottom edges.
2. Using the Split Edge Ring Tool, make another division about two-thirds away from the tip of the finger.
3. Select the 2 top faces of the tip, extrude them and scale them a bit. (make sure Keep Faces Together are checked)
4. Press “G” to repeat the last tool used – Extrude Tool and push the faces in a bit.
5. Press “G” to repeat the last tool used – Extrude Tool and pull the faces in a bit.
6. Select the face in front of the nail and push it down a bit.
7. 
8. 
9. If your finger looks a bit square you can smooth out the edges a bit with the Sculpt Geometry Tool r and set it to smooth.
Top of the Hand
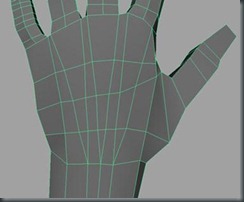
1. Using the Split Polygon Tool and the Move Tool, rebuild the top of the hand to define the bones in the hand.
2. Select the following edges and delete them.
3. Move the lower edges to the center of the hand. Think of it as the extension of the center of the finger.
4. Connect one edge from each side to the same point, the center line. Edges might not be exactly where you want them yet, we will move them next.
5. After connecting them all, move any needed edges to line up with the finger centers; this may take a few minutes. Make sure you look from multiple angles to ensure planarity and line.
6. Using the Split Polygon Tool, define the top ridge of the tendon. With the ridge still selected, move the ridge up just a tad. Look at it from multiple angles and adjust the tendon ridge line.
7. Using the Sculpt Geometry Tool, smooth out the ridges close to wrist and any thing else that looks too angular.
Side of the Hand
1. We need to round out the fingers and the hand a bit. Using the split edge ring tool, divide the side of the finger and hand in half. This might take a few steps, the split edge ring tool only works when your geometry is in quads. If this tool does not seem to work, you might have to use the Split Polygon Tool with snapping tolerance to 100%. This may take a number of steps.
2. Select groups of edges and move them to round out the fingers and hand. Look at the hand from multiple angles to make sure the look even.
Creating the Palm Creases
1.Create a new top view and import palm image plane.
2.In the Perspective View, select the hide the hand image plane. <CTRL> + <H>
3.Draw the curves to define the palm creases.
4.Delete edges and move vertices to make quads.
5.Bevel the new edge with 2 divisions to create a nice crease.
Last step . . . Tweaking
This is the hardest step and takes the longest amount of time. Basically, you move vertices, edges, and/or faces until your hand looks “perfect”. This could take years . . .
Suggestions:
· Never smooth until last minute or use smooth proxy. Once you smooth you can’t go back.
· Save a low resolution version of the model prior to smoothing it.
· With organic modeling, start with a very low resolution of the model and slowly add detail until it looks almost like the final model – then you can smooth. When I soften the edges, it should look good, especially if one squint their eyes.













No comments:
Post a Comment